Provide root CA for TightGate-Viewer centrally under Windows
If user authentication at TightGate-Pro is carried out via an Active Directory, the security certificate from TightGate-Pro must be trusted when logging in for the first time. This is necessary so that TightGate-Viewer can establish an encrypted connection to the TightGate-Pro server.
If you want to avoid the question about trusting the login appearing at the first login, you can store the root CA certificate centrally in the Windows certificate store. The following instructions describe the procedure.
Export Root CA
- Please access TightGate-Pro as administrator maint and select the menu item User administration > Create SSL key menu item.
- Select an existing USER and open the dialogue SSL key was created or updated for USER XYZ with OK to confirm.
- The following question Should the created certificates now be exported? with Yes to confirm.
- Now connect with an SFTP programme (e.g. WinSCP) to TightGate-Pro as user Administrator config. Under the directory /home/user/.transfer/config/certs/BENUTZER you will now find the file x509_ca.pem.
- Copy this file to the Windows computer into whose certificate store it is to be imported.
- Name the file x509_ca.pem to x509_ca.crt .
Import certificate file into the Windows certificate store
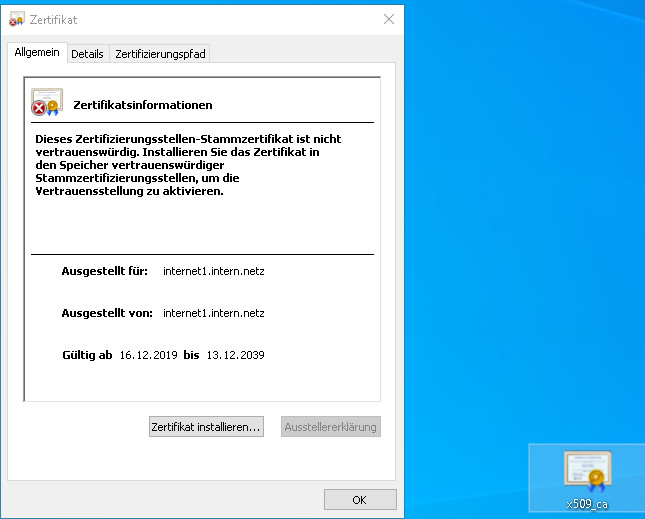
- Double-click on the file x509_ca.crt file.
- The certificate opens. Click on the button Install certificate…
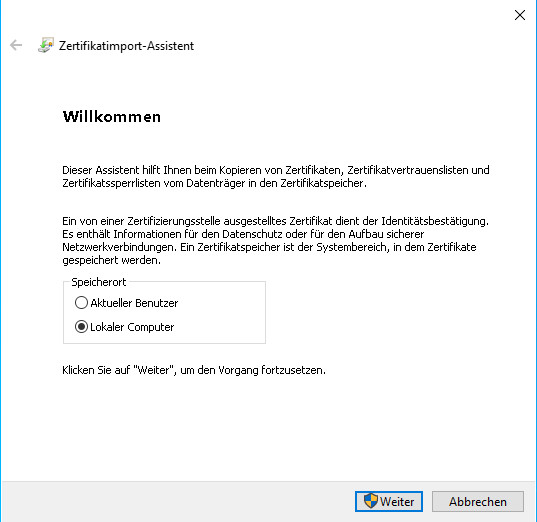
- The certificate import wizard opens. Select Local computer from the list.
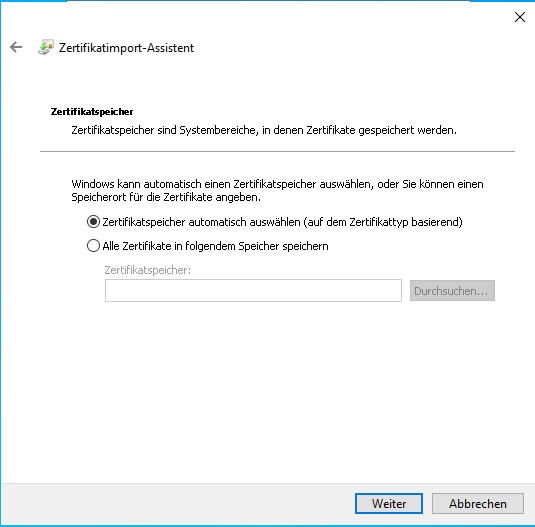
- Then select the preferred certificate store and then click Finish.
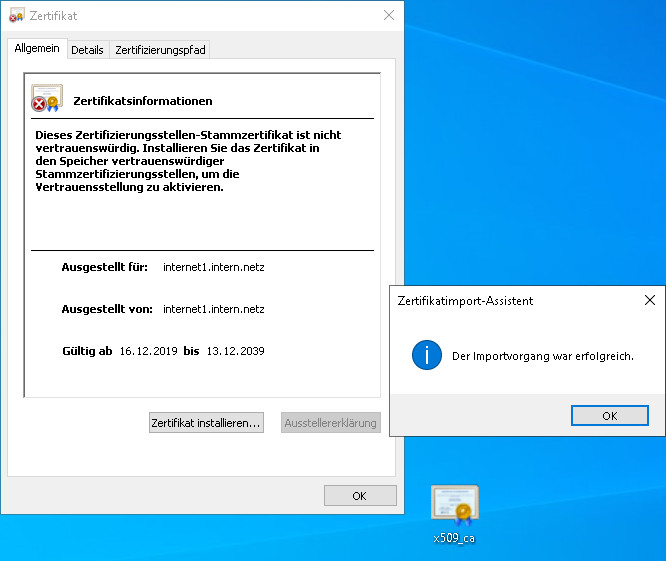
- A message about the successful import should appear.
- Finally, delete the %APPDATA%\vnc directory. The SSO login with AD should work without the TLS confirmation message appearing. The file x509_savedcerts.pem file should not be created after closing TightGate-Viewer.
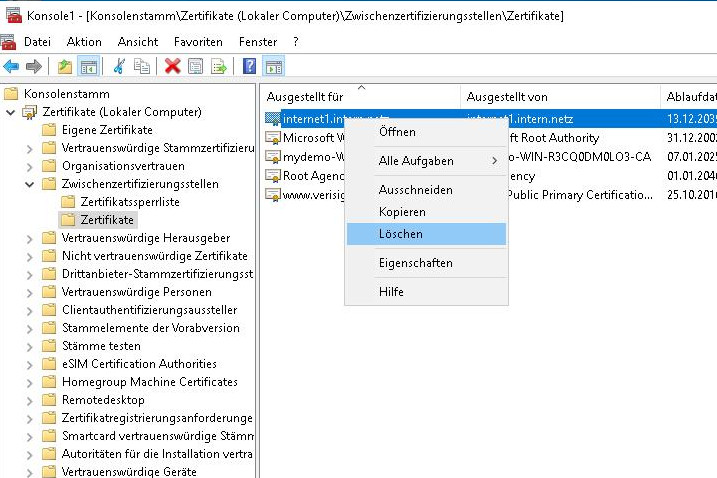
Removing the certificate file from the Windows certificate store
- Log in as administrator on the Windows PC.
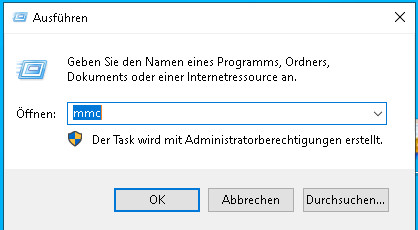
- Right-click on the Windows icon > Run. Enter mmc and confirm with OK.
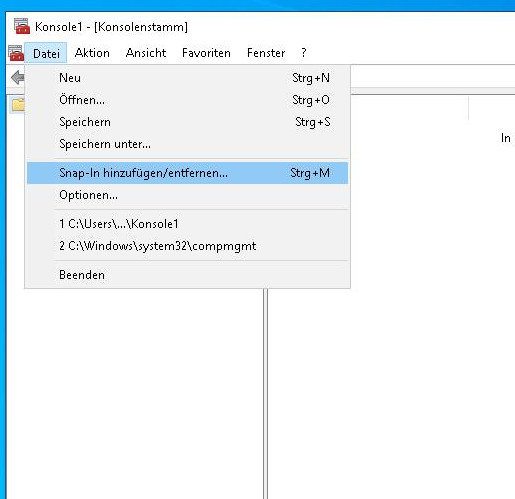
- The Microsoft Management Console opens. In the console, please click on File > Add/Remove Snap-In… click.
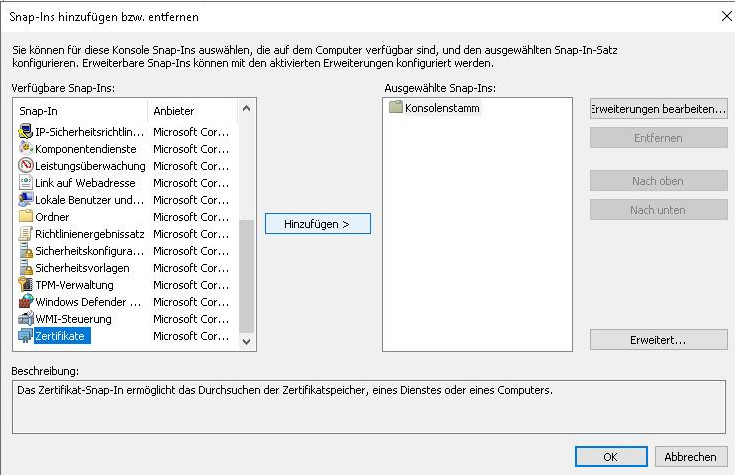
- In the following window, scroll down in the left-hand sub-window, select the snap-in certificates and then click on Add button.
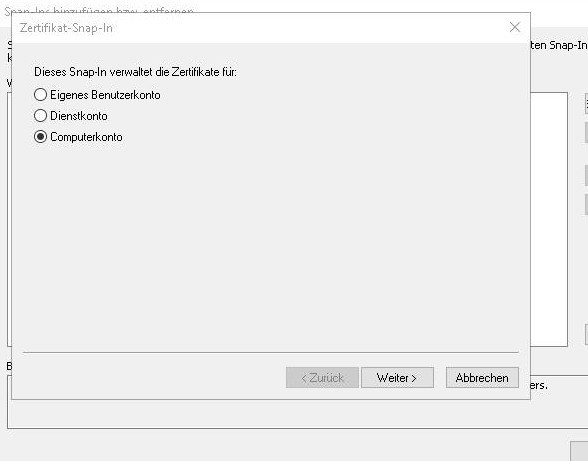
- Another window opens in which computer account must be selected and then Local computer. Close the entry with OK to finalise.
- Then right-click on Own certificates > Certificates and select the menu item Delete.
- Do not forget! Finally, save the Microsoft Management Console session with File > Save / Save as …
- Done, the TLS confirmation message should now be displayed again when starting TightGate-Pro.
